Unlock Crispy, Juicy Carnitas: The Ultimate Foolproof Recipe
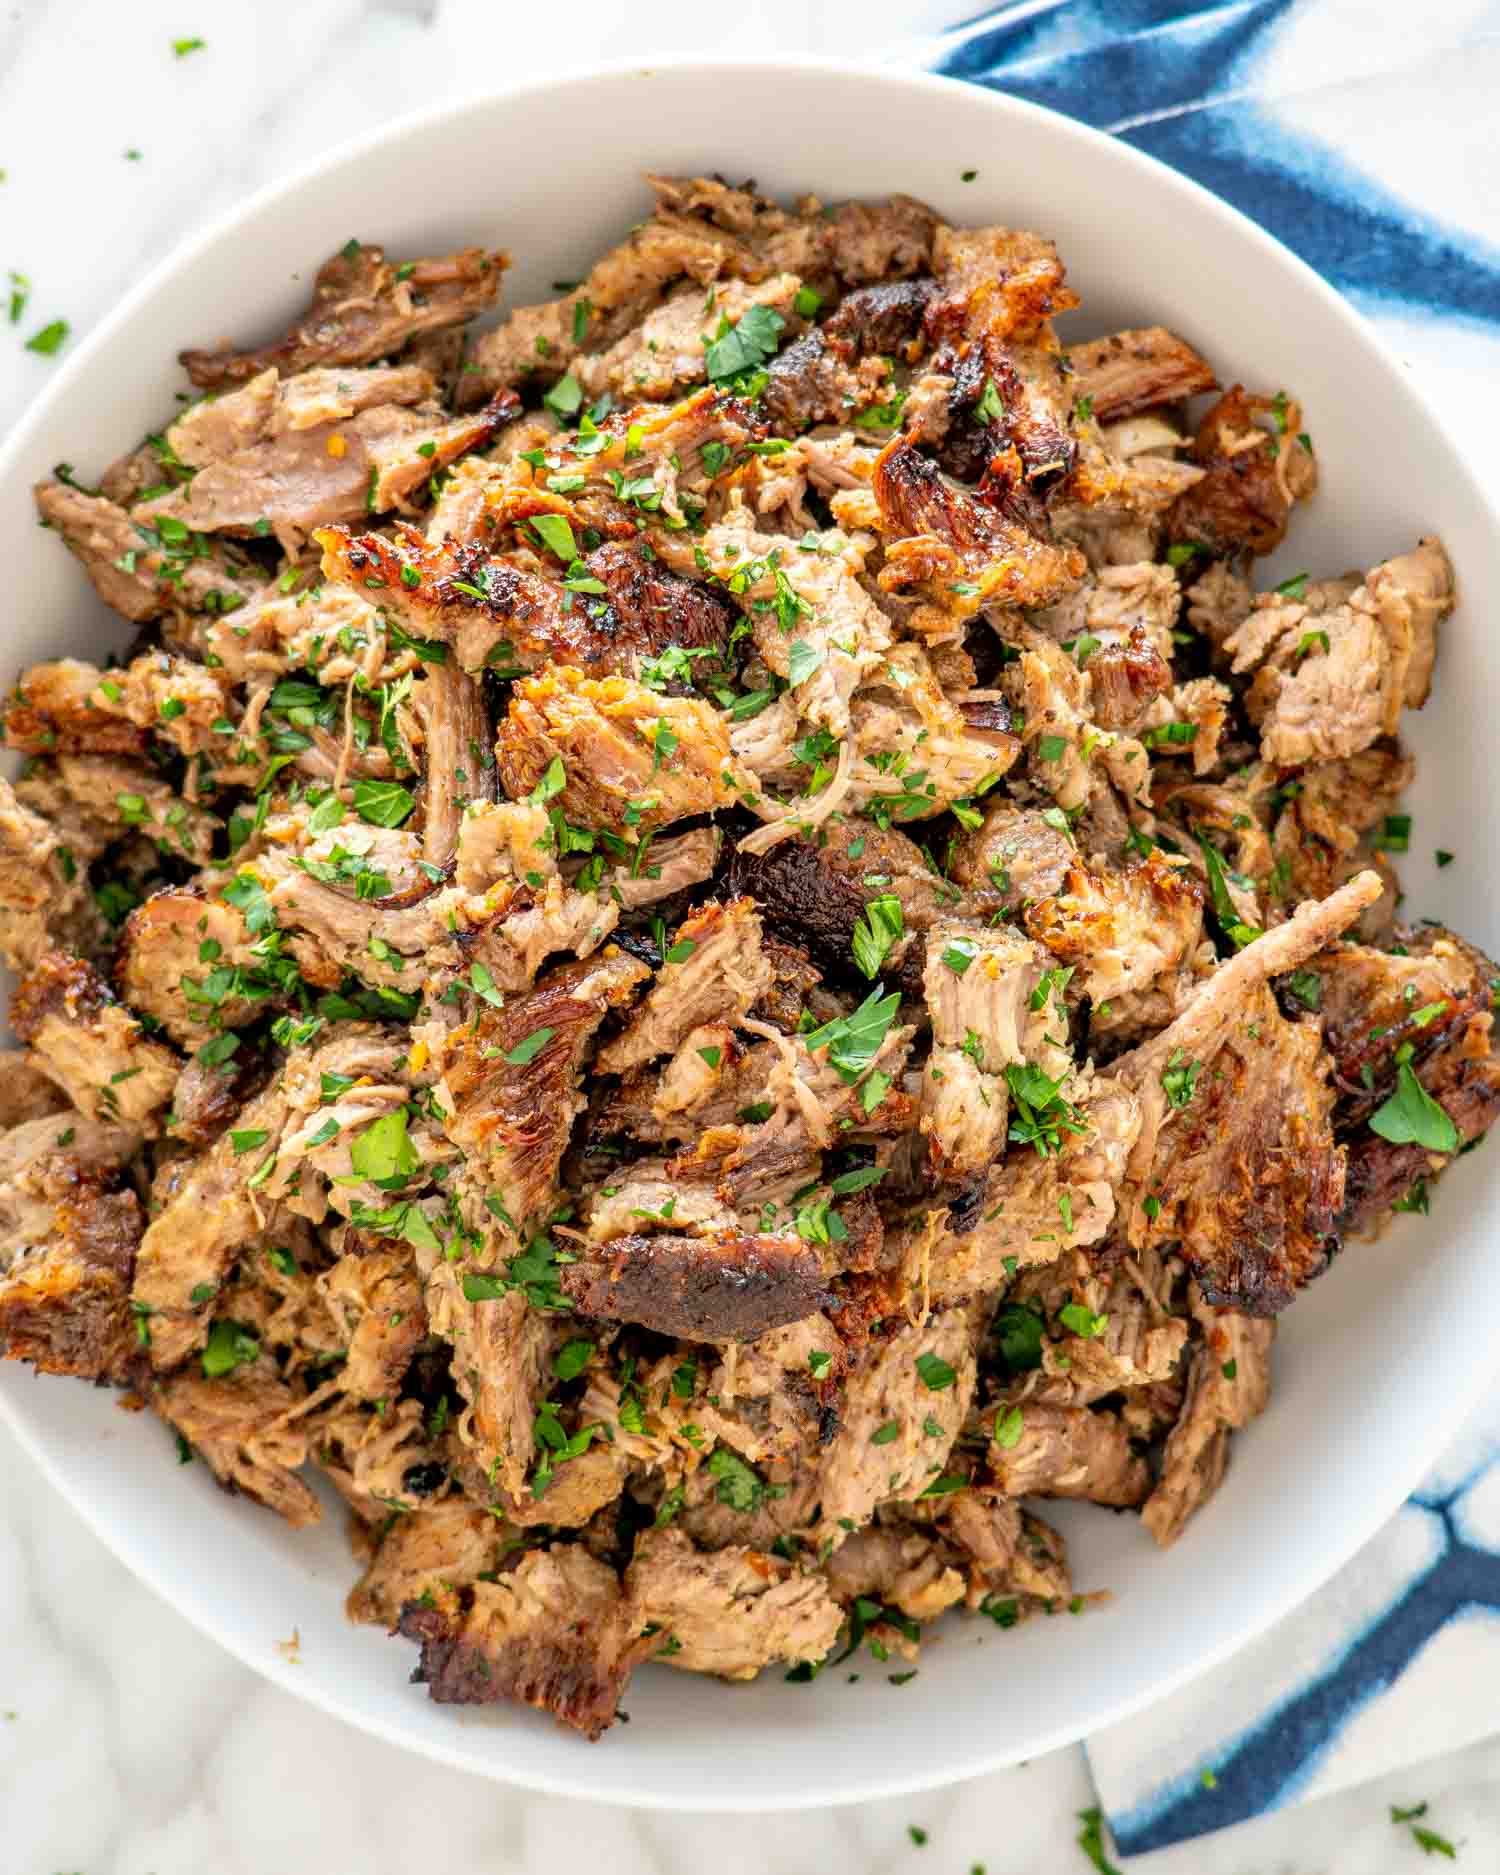
Imagine biting into a taco filled with succulent, tender shredded pork, each morsel boasting incredibly crispy, golden-brown edges, all infused with a bright, aromatic citrus essence. This isn't a fantasy from your favorite taqueria; it's the promise of homemade
pork carnitas, and with this foolproof guide, you're about to make it a delicious reality. Forget sad, dry pulled pork or settling for mediocre takeout. We're diving deep into the secrets behind achieving truly restaurant-quality carnitas right in your own kitchen, blending simplicity with profound flavor.
What Makes Truly Unforgettable Pork Carnitas?
The distinction between good and great carnitas lies in a few critical elements that work in harmony to create a symphony of textures and flavors. It's not just about cooking pork; it's about transforming it into something magical.
The Magic of Pork Shoulder: Your Foundation for Flavor
The cornerstone of exceptional
pork carnitas is undoubtedly the cut of meat: pork shoulder, also widely known as pork butt. This isn't a suggestion; it's a non-negotiable fact. Why? Because pork shoulder has the perfect balance of fat and connective tissue. As it cooks low and slow, this fat renders down, basting the meat from within, while the tough collagen breaks down into rich, gelatinous goodness. The result is unbelievably juicy, fall-apart tender pork. Attempting this with leaner cuts like pork loin will only lead to disappointment – dry, stringy results that lack the essential carnitas character. For faster cooking, cutting your pork shoulder into large 2-3 inch chunks significantly reduces the cook time without compromising flavor or tenderness.
A Symphony of Citrus and Spices
While pork shoulder lays the groundwork, the flavor profile of authentic
pork carnitas is built upon a vibrant blend of citrus and warm spices. Orange and lime juices aren't just for acidity; they play a crucial role in tenderizing the meat slowly over time, infusing it with their distinctive brightness. Adding spent citrus halves directly to the cooking pot amplifies this effect, extracting every last drop of aromatic oil and zest. Alongside these bright notes, a robust dry rub typically featuring salt, black pepper, cumin, dried oregano, and a touch of red pepper flakes creates a deep, earthy foundation that complements the pork beautifully. Some recipes even include a hint of pineapple, which offers an enzymatic tenderizing boost along with its sweet tang.
The Low & Slow Secret to Melt-in-Your-Mouth Tenderness
Patience is a virtue, especially when it comes to carnitas. Whether you opt for an oven-baked method at a low temperature like 300°F (150°C) or a slow cooker, the principle remains the same: low and slow is the only way to achieve that signature melt-in-your-mouth tenderness. This extended, gentle cooking process allows the fat to render and the connective tissues to dissolve into gelatin, creating pork that effortlessly shreds with just a fork. Rushing this step by cranking up the heat is a recipe for tough, chewy pork. Give it time, and you'll be rewarded handsomely.
The Ultimate Crisp: Don't Skip the Broil!
Here's the secret weapon that truly separates
pork carnitas from mere pulled pork: the broiling step. After slow-cooking to perfection, the pork is shredded, spread onto a baking sheet, and then broiled until the edges turn golden-brown and gloriously crispy. This step is absolutely non-negotiable if you're chasing that coveted textural contrast – juicy interior with irresistible crunchy bits. It’s the finishing touch that elevates your carnitas from delicious to utterly divine.
Your Foolproof Recipe for Crispy, Juicy Pork Carnitas
Ready to embark on your carnitas journey? Here’s a streamlined approach designed for success, marrying the best techniques from various proven methods.
Essential Ingredients Checklist
*
Pork Shoulder (Pork Butt): 3-4 pounds, bone-in or boneless, cut into 2-3 inch chunks.
*
Oranges: 2 large (juiced, save the halves).
*
Limes: 2-3 (juiced, save the halves).
*
Garlic: 6-8 cloves, minced or smashed.
*
Pineapple (Optional): ¼ cup juice or a few chunks for extra tenderness and flavor.
*
Dry Rub:
* 1 ½ teaspoons kosher salt
* ¾ teaspoon black pepper
* 1 teaspoon ground cumin
* 1 teaspoon dried oregano
* 1 teaspoon red pepper flakes (adjust to taste for heat)
* *Optional: a pinch of ground cinnamon or cloves for added depth.*
*
Water or Chicken Broth: ½-1 cup, as needed to keep pork submerged initially.
Step-by-Step Method
1.
Prepare the Pork: Pat the pork chunks dry with paper towels. In a small bowl, combine all dry rub ingredients. Generously season the pork chunks on all sides with the spice mixture. Don't be shy – pork shoulder can handle robust seasoning.
2.
Arrange for Cooking:
* **Oven Method:** Place the seasoned pork chunks in a large, heavy-bottomed Dutch oven or oven-safe pot. Add the orange and lime juices, minced garlic, pineapple (if using), and the spent citrus halves. Pour in enough water or broth to come about halfway up the sides of the pork. Cover tightly.
* **Slow Cooker Method:** Transfer the seasoned pork chunks to your slow cooker. Add the orange and lime juices, minced garlic, pineapple (if using), and the spent citrus halves. Pour in enough water or broth to come about halfway up the sides of the pork. Cover.
3.
Slow Cook to Perfection:
* **Oven Method:** Preheat your oven to 300°F (150°C). Cook for 3-4 hours, or until the pork is fork-tender and easily shreds. Check halfway through to ensure there's enough liquid; add a splash more if it's drying out.
* **Slow Cooker Method:** Cook on low for 6-8 hours or on high for 3-4 hours, until the pork is incredibly tender and can be easily shredded with a fork.
4.
Shred and Prepare for Crisp: Carefully remove the pork chunks from the pot and transfer them to a large bowl. Discard the citrus halves. Skim any excess fat from the cooking liquid in the pot, but *do not discard the liquid* – this is liquid gold! Shred the pork using two forks.
5.
The Broiling Magic: Preheat your broiler to high. Line a large baking sheet with parchment paper or foil for easy cleanup. Spread the shredded pork evenly in a single layer on the prepared baking sheet. Ladle a few spoonfuls of the reserved cooking liquid over the pork. This crucial step keeps the pork moist while the edges crisp up, ensuring you get juicy *and* crispy results.
6.
Crisp it Up: Place the baking sheet under the broiler. Watch *very closely*, as broilers can be intense and brown quickly. Broil for 5-10 minutes, tossing every 2-3 minutes, until the carnitas are beautifully golden-brown and crispy in spots. Remove from the oven immediately.
7.
Serve: For an extra burst of flavor and moisture, you can drizzle a little more of the reserved cooking liquid over the finished carnitas before serving.
Expert Tips for Carnitas Perfection
To truly elevate your homemade
pork carnitas from great to unforgettable, consider these additional insights.
Mastering the Seasoning
Don't be afraid to taste your dry rub before applying it. A balanced seasoning mix is key. If you're using a bone-in pork shoulder, remember that the bone adds flavor but also weight, so adjust your cooking time accordingly. For even deeper flavor, consider seasoning the pork the night before and letting it marinate in the fridge.
The Power of Leftover Liquid
The reserved cooking liquid is your best friend. Not only does it keep the shredded pork juicy during broiling, but it's also packed with concentrated flavor. Beyond drizzling it over the finished carnitas, save any extra for reheating leftovers or to add depth to rice or bean dishes. It’s flavor insurance you don’t want to miss.
Oven vs. Slow Cooker: A Quick Comparison
Both methods yield fantastic results.
*
Oven Method (Dutch Oven): Often results in a slightly richer, more caramelized flavor profile due to direct heat, and the initial browning of the pork before adding liquid can enhance this even further.
*
Slow Cooker Method: Offers unparalleled convenience, allowing you to "set it and forget it," making it perfect for busy weekdays or hands-off cooking. The internal consistency of the heat is very forgiving.
For a deeper dive into the pros and cons of each, check out our article on
Master Crispy & Tender Carnitas: Oven or Slow Cooker Secrets Revealed.
Meal Prep & Storage
Homemade carnitas are a meal prep dream. Cook a big batch, and you'll have versatile protein for days. Store leftover carnitas (un-broiled) in an airtight container with a splash of the reserved cooking liquid in the refrigerator for up to 4-5 days. For longer storage, freeze in individual portions for up to 3 months. When ready to eat, thaw, shred if not already, then crisp under the broiler following the steps above for fresh-tasting results.
Beyond the Taco: Serving Your Sensational Carnitas
While tacos are undeniably the classic vehicle for
pork carnitas, their versatility knows no bounds. Pile them high on warm tortillas with your favorite toppings like pickled onions, fresh cilantro, a squeeze of lime, or a creamy avocado sauce. But don't stop there!
*
Burrito Bowls: Create vibrant bowls with rice, beans, salsa, and guacamole.
*
Salads: Add a protein punch to your greens.
*
Sandwiches or Torta: Stuff them into crusty bread rolls.
*
Nachos: A game-day favorite just got an upgrade.
*
Quesadillas or Enchiladas: A rich and flavorful filling.
For more inspiring ideas on how to incorporate this incredible pork into your weekly meals, explore
From Tacos to Bowls: Versatile Pork Carnitas for Easy Meal Prep.
Conclusion
Making incredibly crispy, juicy
pork carnitas at home might seem daunting, but as you've discovered, it's a remarkably straightforward process built on simple, effective techniques. By choosing the right cut of pork, layering vibrant flavors, employing a low and slow cooking method, and embracing the crucial broiling step, you can achieve results that not only rival but often surpass your favorite restaurant versions. So, roll up your sleeves, gather your ingredients, and prepare to fill your kitchen with an aroma that promises pure culinary bliss. Your journey to carnitas mastery starts now!